A few weeks ago when we had a bit of a heatwave I made a few more free tees but I ended up wearing them and not taking any pictures. Well, now they have been through the wash and are back in the “to photograph” pile. So hopefully I can play catch up and get the reviews out to you soon. Let’s start with the Gree Tee from Greenstyle creations!
To recap, I am hoping to get through as many of the free tee patterns as possible (you can find the full list here) and let you know what I think of them. For each tee pattern, I review I will look at 4 different aspects of the pattern: the options available (including different looks and size ranges), how easy it is to get hold of the pattern, printing and assembling the pdf, and the instructions/construction. For each of these four categories, I will give the pattern a score out of ten. I will also give a score out of ten for my version of the pattern (including thoughts on the fit and overall impressions). So in total, each tee will get a score out of 50 making it really easy to compare these patterns.

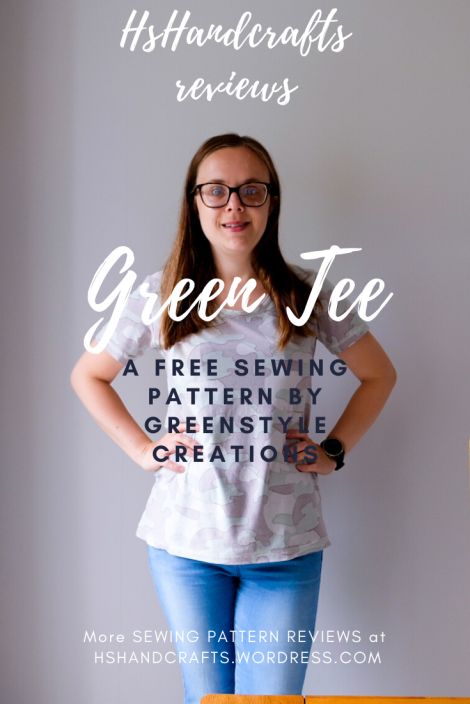
Greenstyle Creations are a pattern company I have never tried before but they have been on my radar for a while as I often like to have a browse through and swoon over their activewear designs but as my list of things to make is already pretty long I have avoided buying any new patterns for a while. The free Green Tee pattern is however, a great way to try out this new-to-me designer without having to fork out for a new pattern. The Green Tee is a basic semi-fitted tee but there are lots of options allowing you to mix it up.

Options available 8/10
The Green Tee comes in 12 sizes labelled B-M. These cover bust measurements from 30-61″ which is one of the biggest size ranges I have seen so far. There are also a few different options to chose from; scoop or v neck as well as long or short sleeves.

Getting hold of the pattern 3/10
On the web page for this tee it comes up as $10 but if you join the Greenstyle creations facebook group there is a code to get it for free!
You need to ask to join the group and there are a couple of questions to answer to check you are legit! You then need to wait for your request to be approved. I made the request at 11 am on a Saturday morning (UK) and it took about an hour but there is no indication anywhere for typical times for this approval.
Once you have the code just add the Green Tee to your cart and go to the checkout. There you need to log in or create an account. Once you enter the code in the discount box the price of the pattern will come down to $0.00
You still need to enter some details but no payment info is required – you have to click on the “continue to payment” button, and then the “pay now” which can be a bit confusing. You will then get a link to download the files

Printing and assembling the pdf 4/10
The no-trim pages on this pattern certainly save a bit of time when assembling the pdf pattern – however, I found sticking them together to be a lot less accurate than some others I’ve tried as the printer always leaves a slight gap in the printing at the edge of the page and so getting the pattern lines to meet neatly is a bit trickier and so probably actually took me longer in the end as I had to spend more time lining the pages up!
The printed pages for this one do have page numbers on them but no other indication of which pages join to each other so you need to keep referring to the lay plan for that. Having said that, once I got towards the end of the pattern the page numbers on mine didn’t actually match up with the lay plan so I found I had to double-check the pattern pieces and how they looked like they should fit together!!

Instructions and construction 9/10
The instructions on this pattern are nice and clear and concise. I am a big fan of technical drawings in pattern instructions as it makes it very clear to see which seams get attached where. The top came together really easily and there were no surprises here.

Final Impressions 9/10
I went for the short-sleeved round neck option. I sewed it up in some DBP I had leftover from making a pair of leggings earlier in the year. I originally bought this fabric because it was on sale and I love the feeling of brushed fabrics although camo isn’t really my style. So to mix it up a bit I actually used the wrong side of the fabric as the outside of this tee to give it a much more muted colour scheme. To match with the sporty feel of the Greenstyle creations vibe I reverse cover stitched the hems and neckline. I made a size E at the bust and blended to an F at the waist and hip with no other adjustments. The fit is maybe a little looser than I had expected from some of the photos on the website but the general shape fits me well.

Total score 33/50

Thanks for reading this review of the Green Tee. If you want to know how this compares to some of the other free tee patterns out there be sure to check out my other reviews and the full list of free tee patterns available that I hope to conquer over the next few months!
Have you sewn up this pattern? What did you think of it?

p.s. to keep up with my makes as part of this #HSewsFreeTees project you can follow along on Instagram
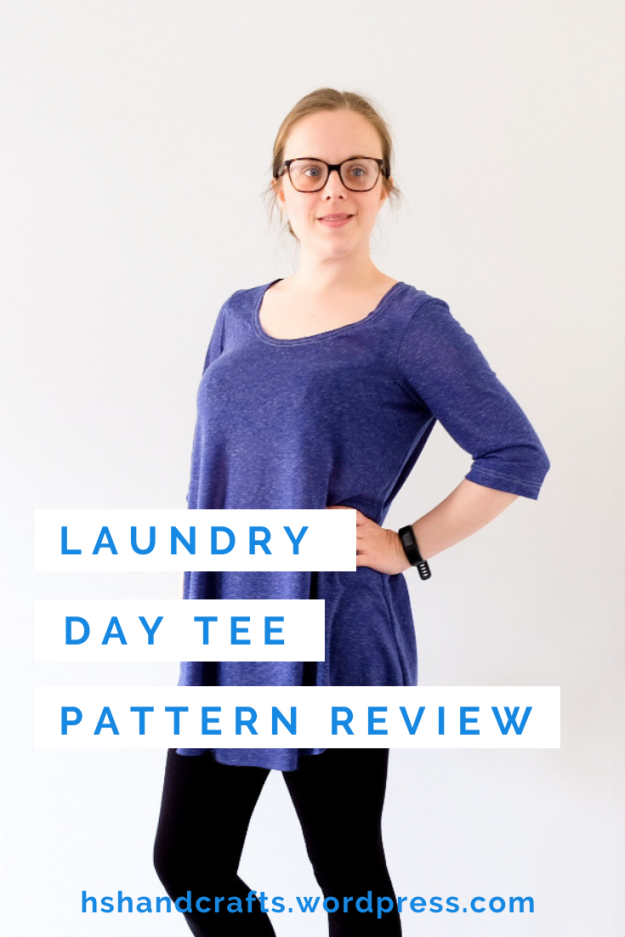
Want to save this article for later? Pin this:


 Final Impressions 8/10


 /50
/50